Mud Flaps for Tesla Model Y (2020-2024 or Juniper 2025-2026) and Model 3 (2019-2023 or Highland 2024-2025), TPE, No Drilling
Mud Flaps for Tesla Model Y (2020-2024 or Juniper 2025-2026) and Model 3 (2019-2023 or Highland 2024-2025), TPE, No Drilling
Regular price
$25.99
Regular price
$25.99
Sale price
$0.00
Unit price
per
Couldn't load pickup availability
-
Ordered
- - -
Order Ready
- - -
Delivered

Mud Flaps for Tesla Model Y (2020-2024 or Juniper 2025-2026) and Model 3 (2019-2023 or Highland 2024-2025), TPE, No Drilling
Regular price
$25.99
Regular price
$25.99
Sale price
$0.00
Unit price
per
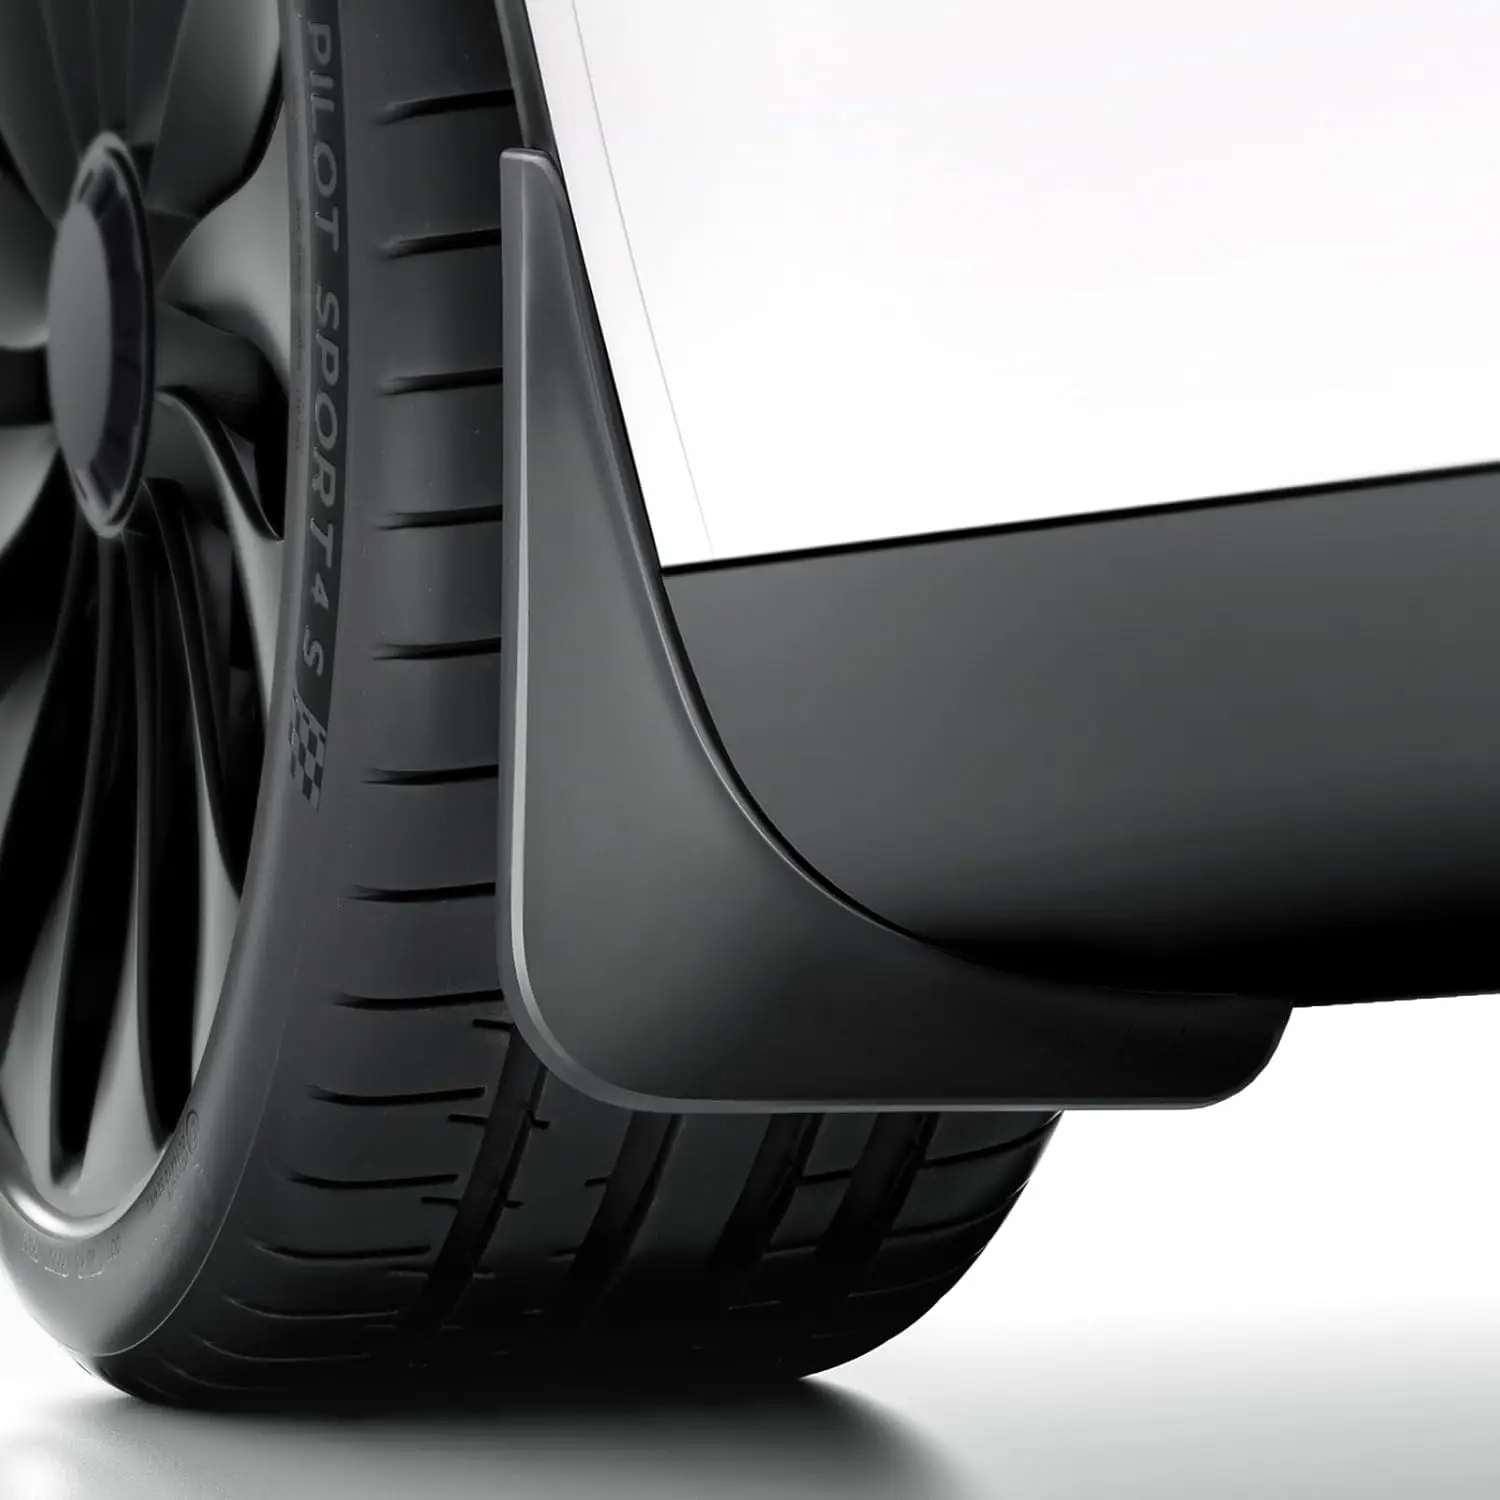
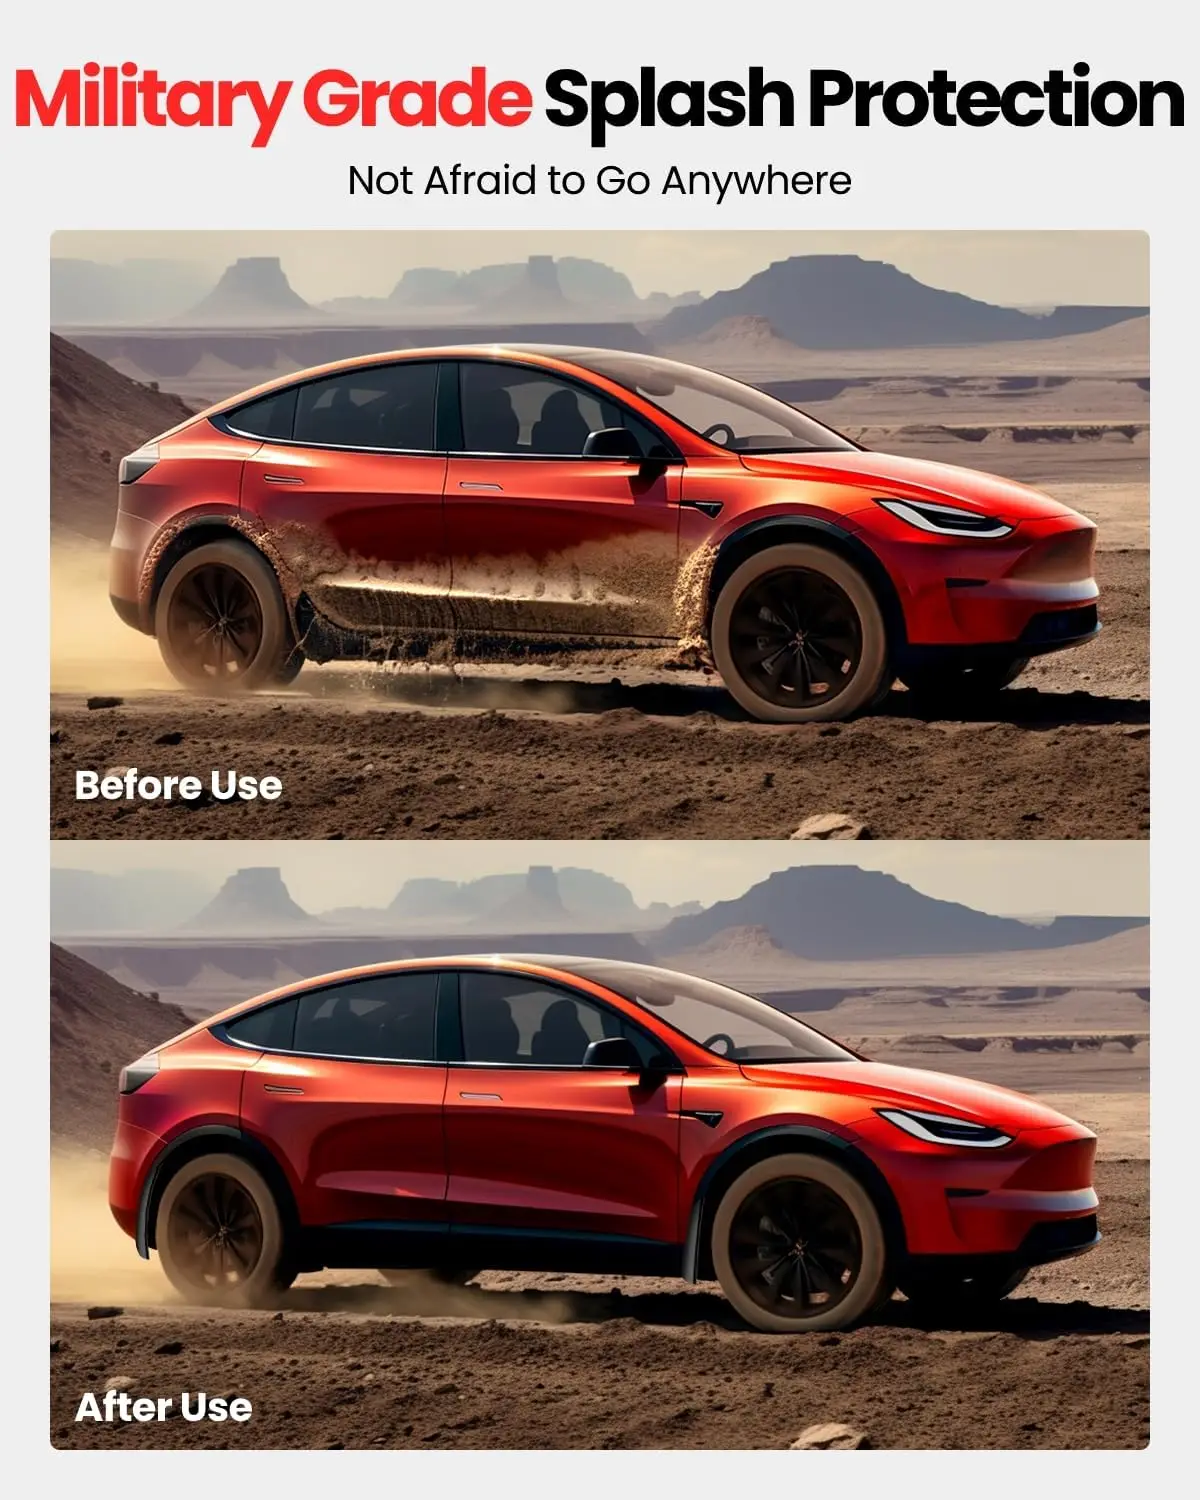
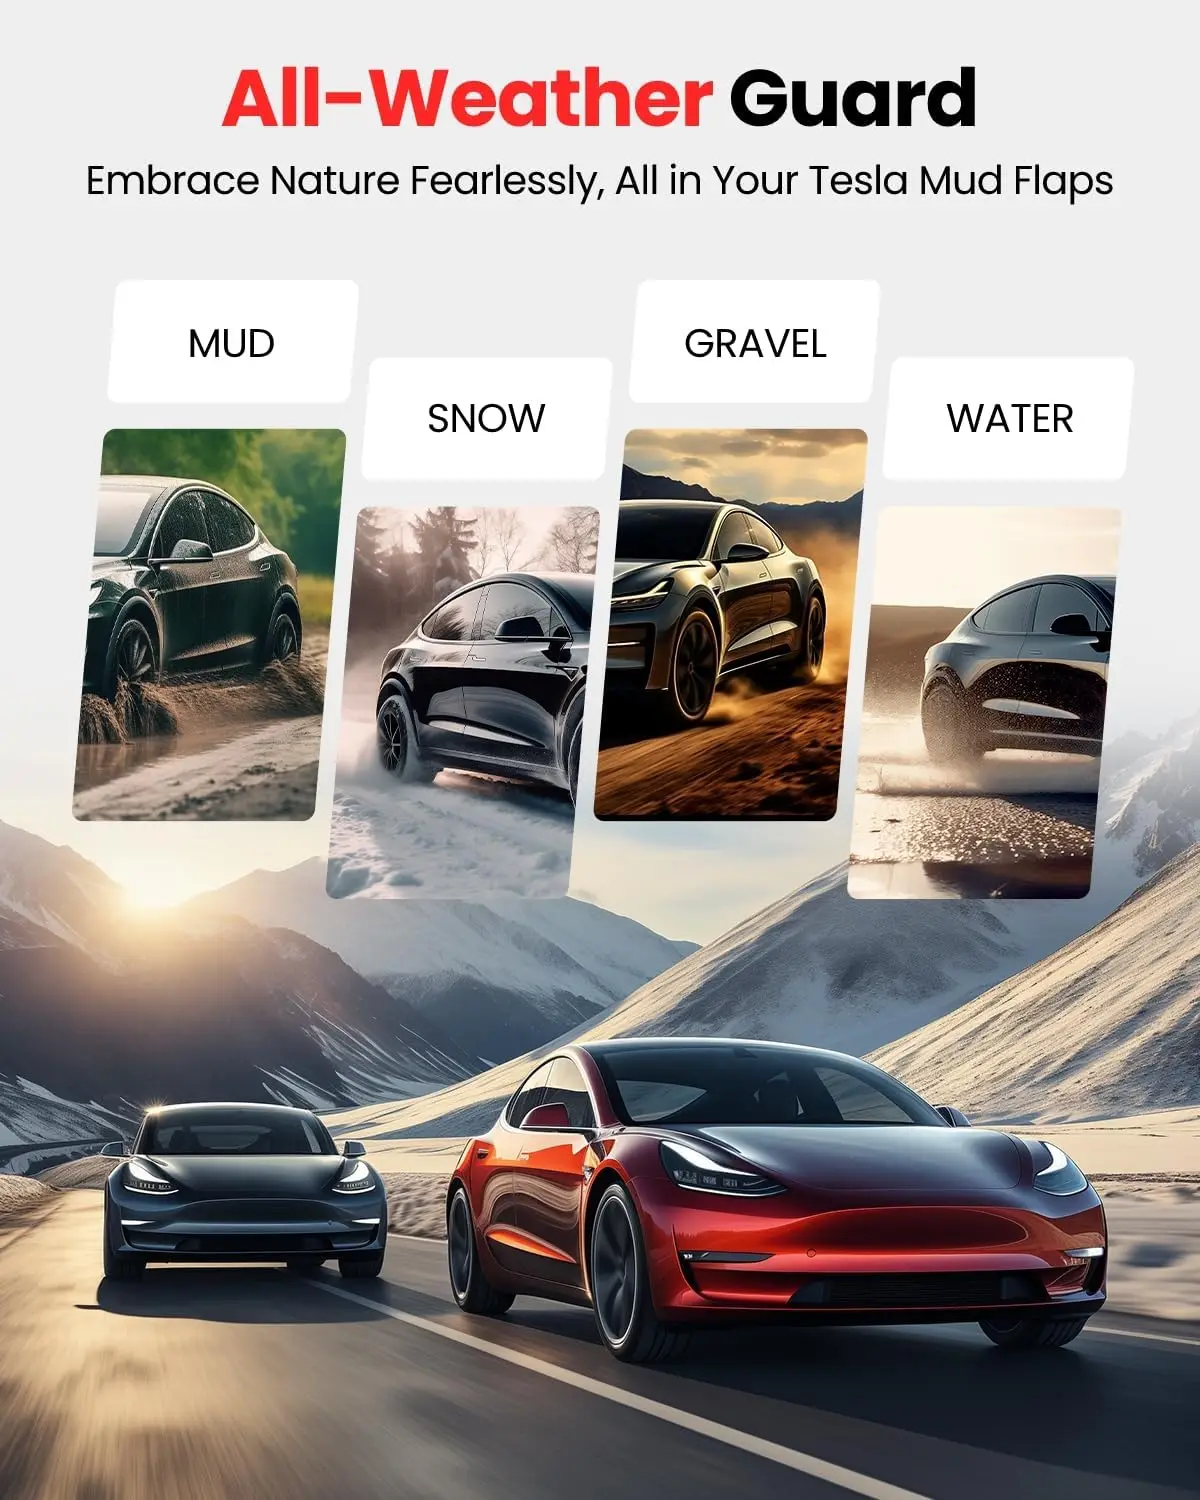
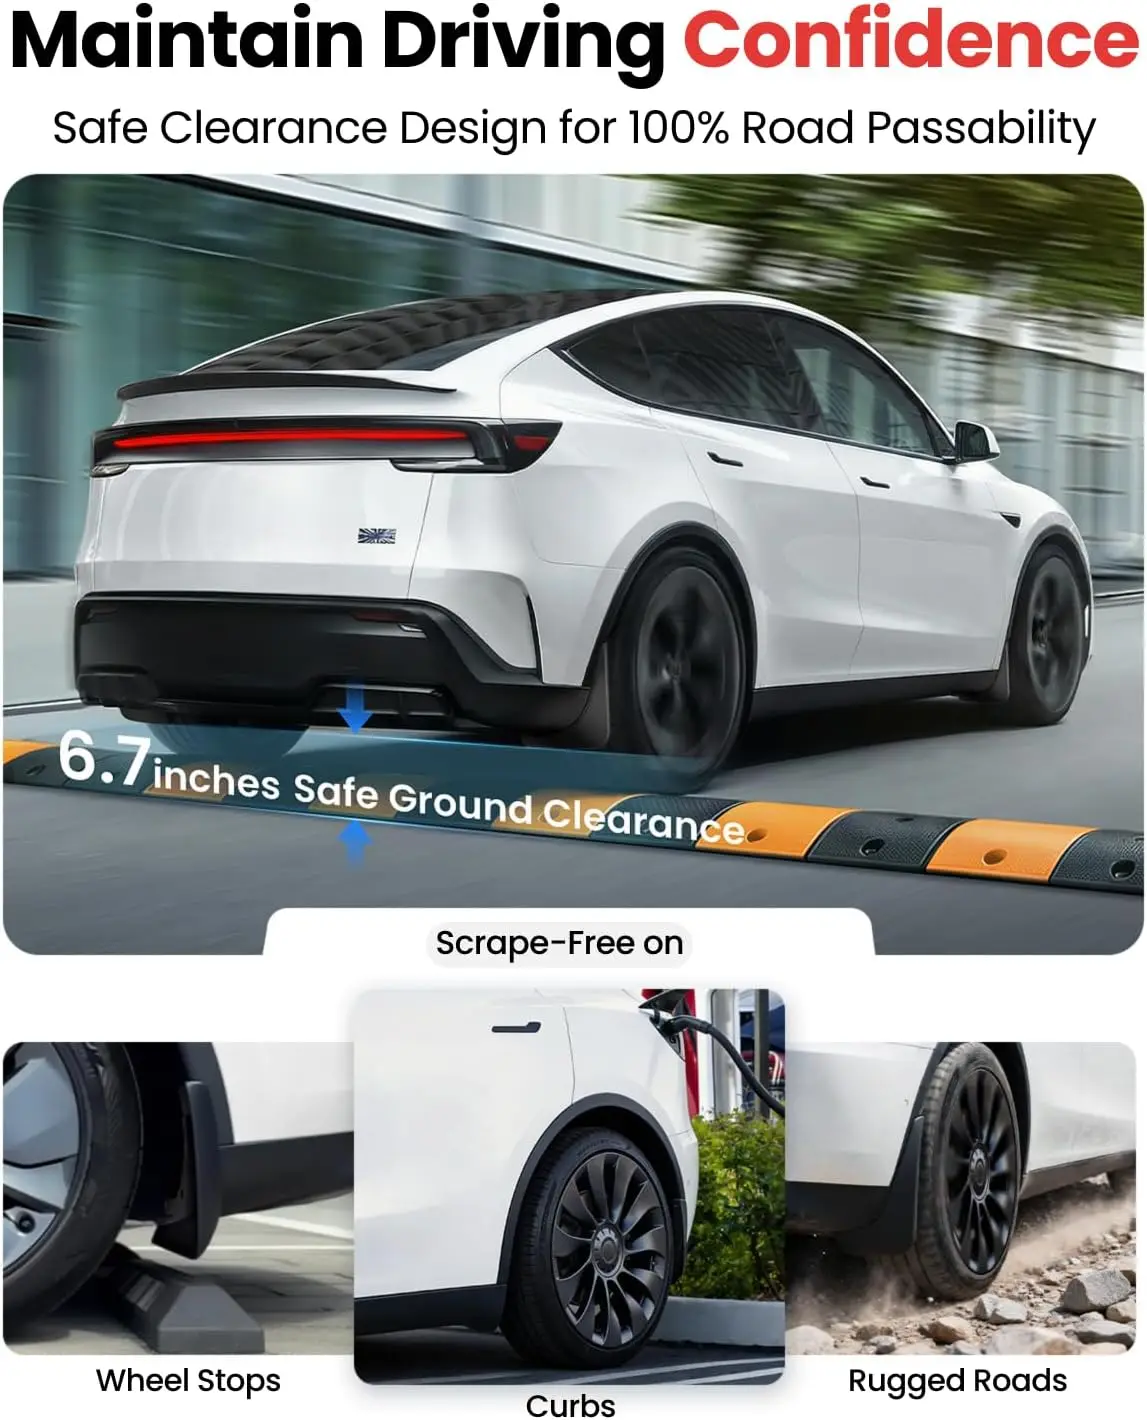
TPE mud flaps for the Tesla Model Y and Model 3, sold in four versions that match each generation. They help protect the lower body from snow, salt, sand, rocks and other road debris. They fit the existing holes and come with screws, so no drilling or tape is needed.
Compatibility
- Model Y 2020-2024.
- Model Y Juniper 2025-2026.
- Model 3 2019-2023.
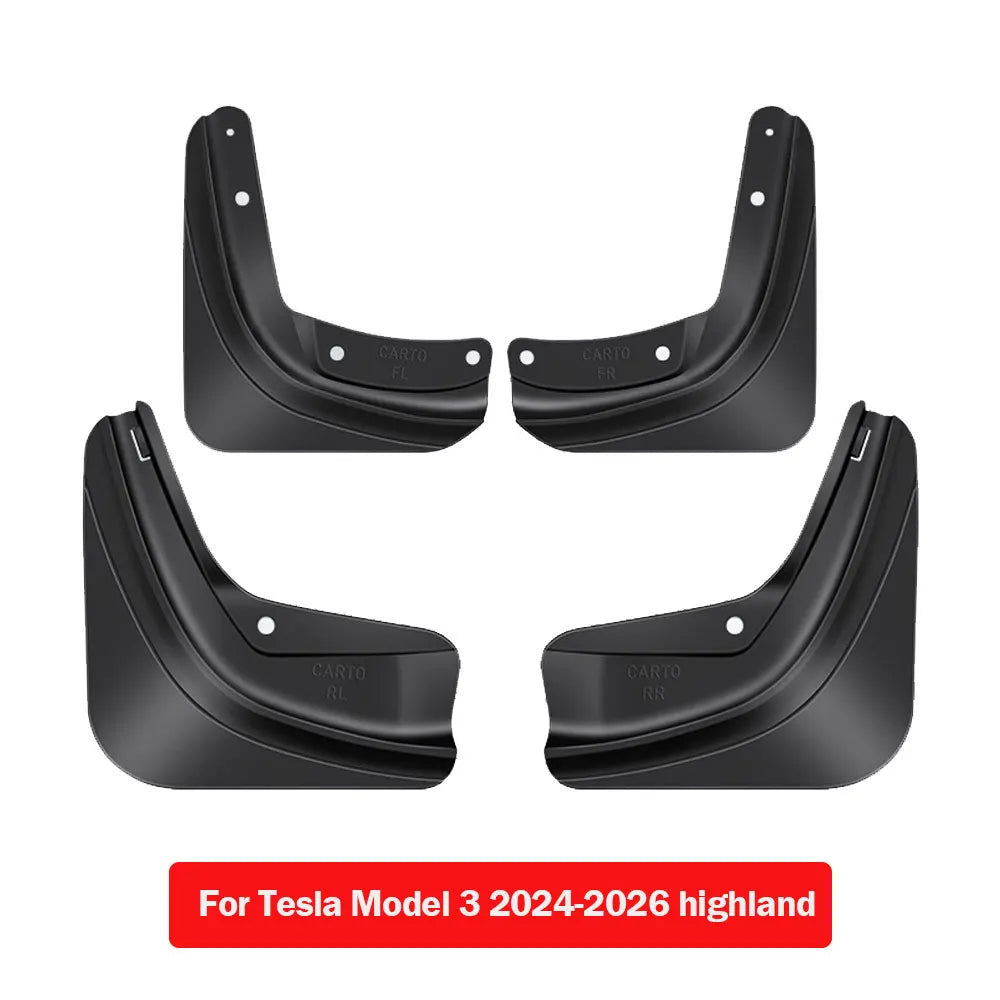
- Model 3 Highland: the supplier's fit list says 2024-2025, and the version name says 2024-2026.
- Please message us your exact model and model year before ordering.
Key Features
- Four versions: a separate set for each Model Y and Model 3 generation listed above.
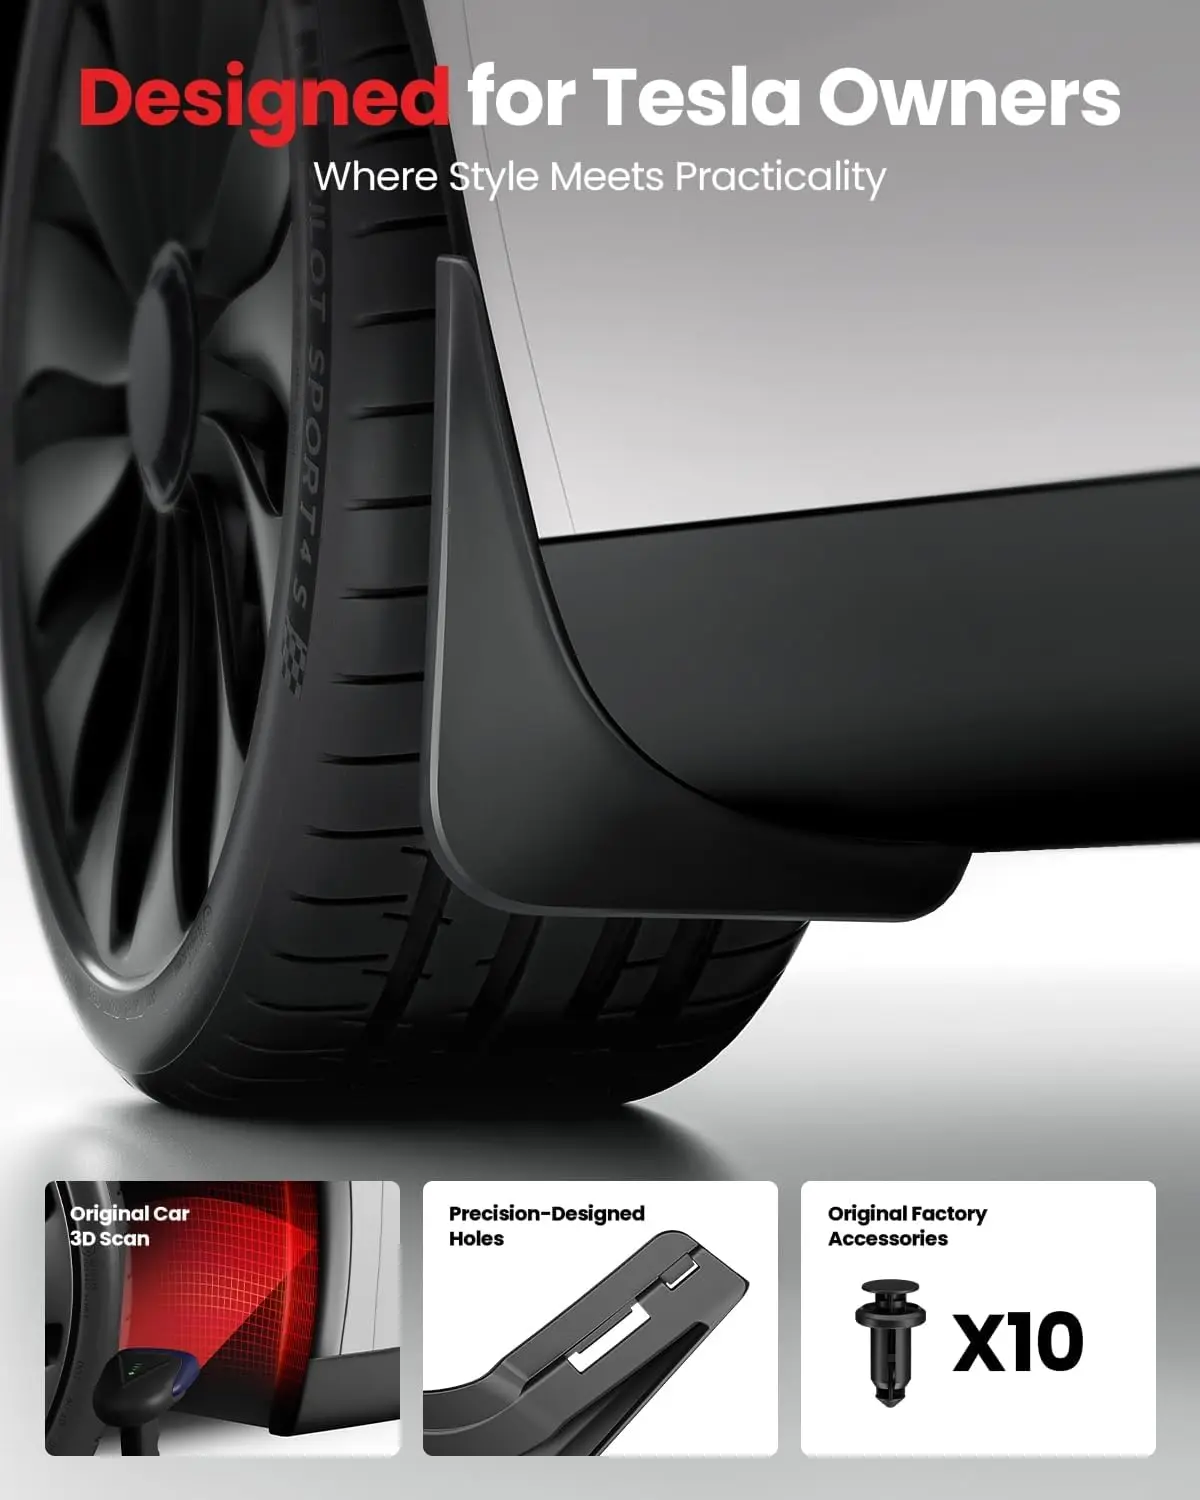
- No drilling or tape: uses the existing holes, with extra fixing holes at the bottom for stability.
- Labeled pieces: each flap is marked for its position, such as FL for front left and RL for rear left.
- TPE material: flexible and wear resistant, described by the supplier as made for harsh weather.
- Screws included: the supplier says all needed installation parts are in the package.
Specifications
- Material: TPE
- Installation: existing holes, screws and clips, no drilling
- Versions: 4
What's in the Box
- Mud flaps for the version you choose
- Mounting screws
How to Install
- Find the spot behind each wheel. The labels show the position (FL is front left, RL is rear left), and the printed side faces the wheel.
- Remove the existing screws, prying them open at the marked spot.
- Line up the flap with the printed side facing the wheel. Do not push the screw all the way into the expansion tube yet.
- Press the screws into the holes.
- Snap the clip into its slot.
Good to Know
- The supplier does not list the number of pieces. Compare the photos with your car before ordering.
- Tesla is a trademark of Tesla, Inc. This product is made by an independent supplier and is not made or endorsed by Tesla.